|
|
两种不同的调节方式,如出一辙的制作方法,本文精彩在与制作过程中导轨的使用。
I've been planning on a neck building thread for some time now. As you may know Telex has recently started a neck building thread in Tele-Tech. However it appears we are using different woods, tools and techniques. My construction pretty much follows that found in Make Your Own Electric Guitar by Melvyn Hiscock.
I've chosen to use single action truss rods since they are fairly simple to make yourself. However they do require you to rout a channel that varies in depth. For the curve of the channel I used the neck blueprint found on page 49 of the Duchossoir Strat book. In building my channel routing jig I first drew the curve onto poster board then transfered it to 2x lumber. I then cut close to the line using the bandsaw followed by sanding to the line with the Ridgid oscilating belt sander. I then ripped this piece in two and put it together glueing equal width spacers at each end. Here's the completed jig. The step pieces at each end are stops for my plunge router base.
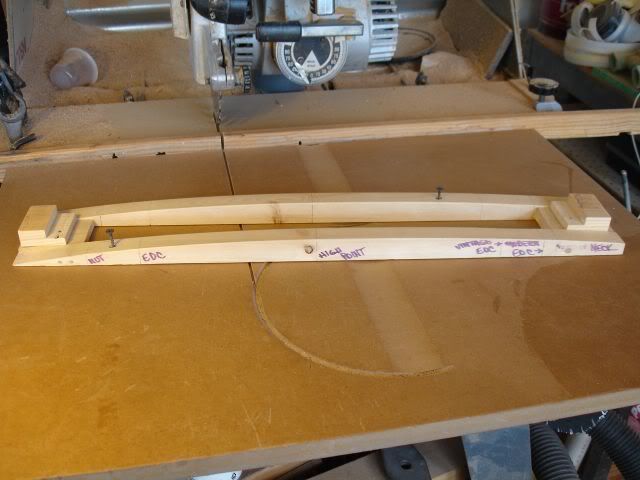
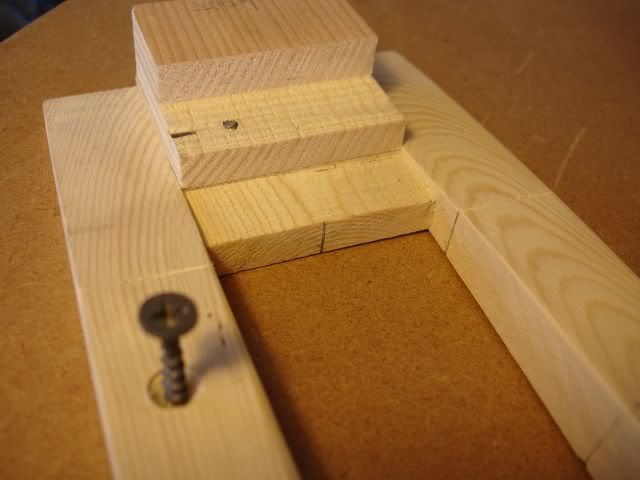
Making a neck in a home workshop is all about centerlines. You need centerlines on your template, jigs and on your neck blank. Here's the centerline mark on the jig
Before starting, I used my neck template to draw the outline, nut line and centerline on my neck blank. I'm using 5/4 hard maple from a local supplier here in Albuquerque. Here's the jig mounted on the neck blank. I routed the channel in several passes. I started at the jig high point with the 1/4 in. straight bit just touching the blank. I have the Porter-Cable micro-adjustable edge guide mounted on the Ridgid plunge router.
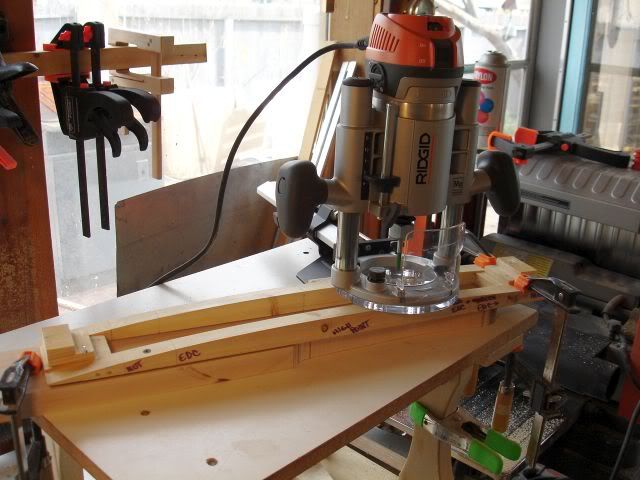
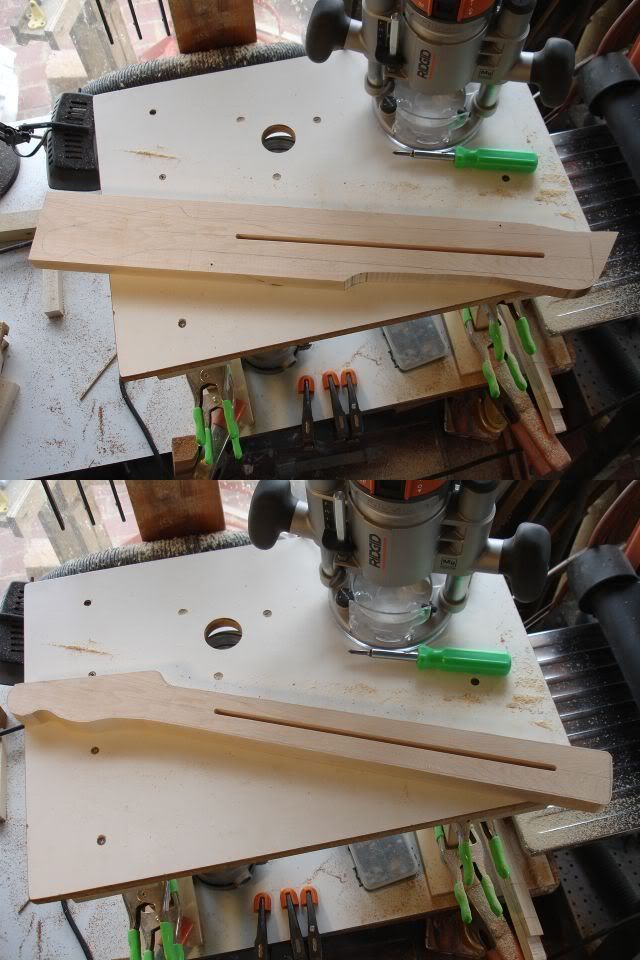
With the edge guide adjusted we're ready to rout. Here's the neck blank after routing the channel and after bandsawing the rough shape. This particular neck will be a vintage style with the adjustment at the heel. The maple I bought was a wide board and being thrifty, I am trying to get as many necks as possible from it. That's the reason for the odd shape of the blank. The shallow point of the channel was routed close to 0.495 in. deep per the Strat book.
I made a neck template from 3/4 in. MDF. This thick template allows me to start the shape routing with a shallow pass on the router table. I do the neck shape routing on the router table using a pattern following bit (the bearing is below the cutter when mounted in the table) making several shallow passes .......... 1/4 in. or less. Here's the neck and template after shape routing. Here's I'm transfering the centerline and nut line from the template to the neck.
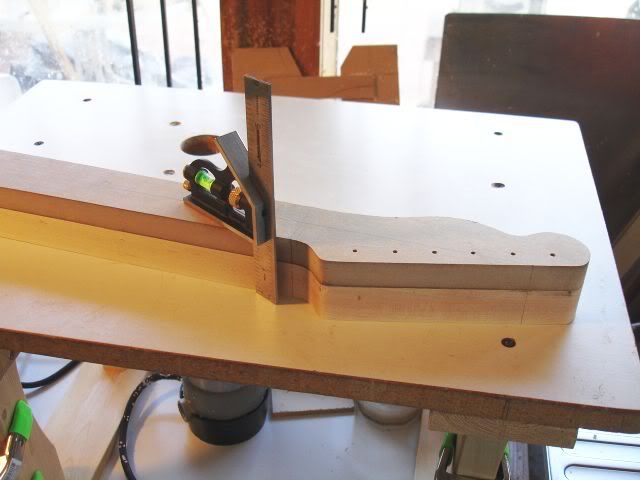
With the template still attached, I mark the tuner hole location with a 1/8 in. bit.

After marking the tuner hole location, I remove the template and drill the tuner holes. I stop before going all the way through. I'm drilling for Kluson style tuners.
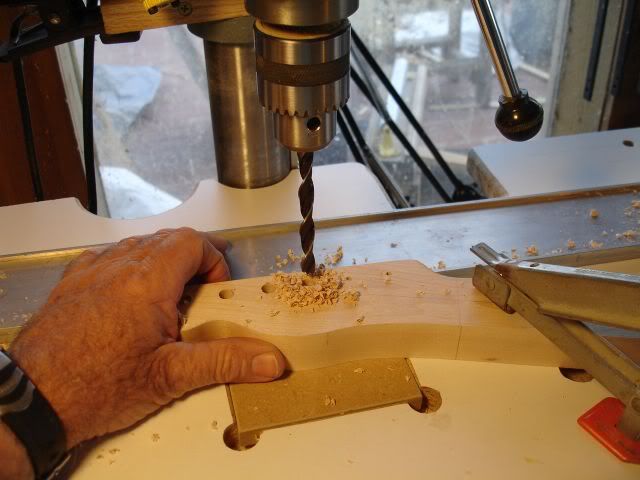
Next I thin down the headstock. I want the final thickness to be a little less than 0.6 in. so I cut it a little thicker.

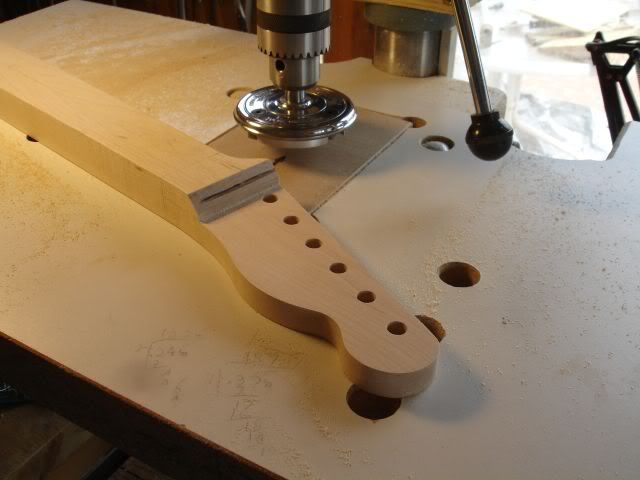
I use the Wagner Safety Planner mounted in the drill press to get the final thickness.
I've built a jig patterned after the one in the Hiscock book for drilling the acces hole to the truss rod channel. Here are a couple of pictures of it.
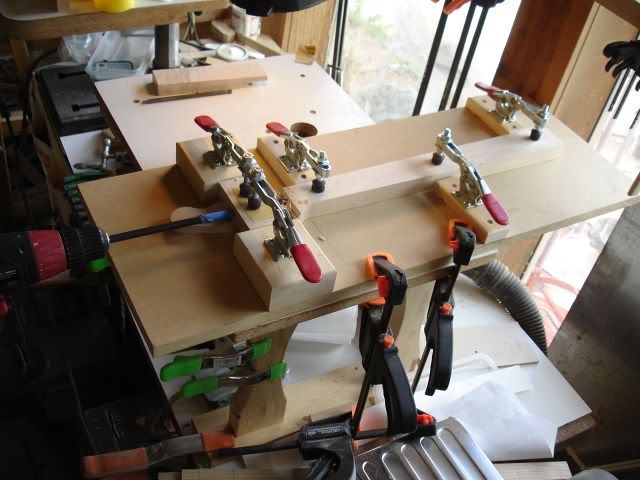
The long 3/8 bit goes through a guide block made of hard maple and drilled at a 3 degree angle per the Strat book. Depth of 3/8 hole is 1.2 in. beyond the nut line.

I've got three necks underway at this time. On the two earlier necks I drilled a 1/4 in. hole into the channel using a guide block clamped to the jig. On this one I wanted a smaller hole and didn't feel like making a guide block so I drilled this 3/16 hole freehand by eyeballing that the bit was centered in the 3/8 in. hole.
Now to do the transition between the headstock and the fretboard. I'm using the Ridgid oscillating drum sander. In this photo I'm choosing a block to raise the heel so the nut line is perpendicular to the table.
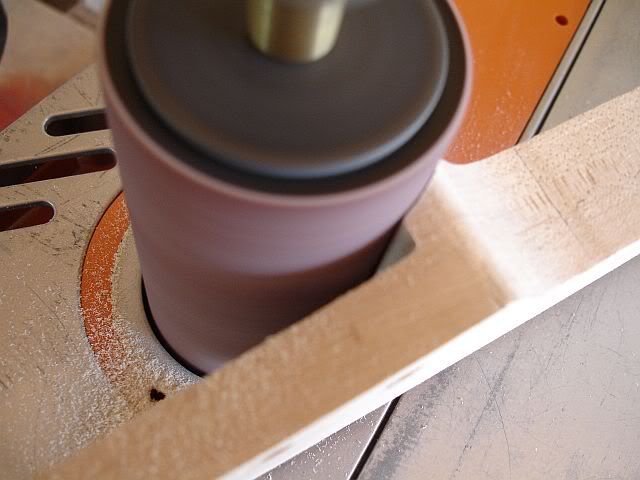
Here I'm using the sander. It's easy to screw up here and sand into the headstock face so I try to stop short and do the final sanding by hand.
This shows the final sanding using the sanding drum by hand.

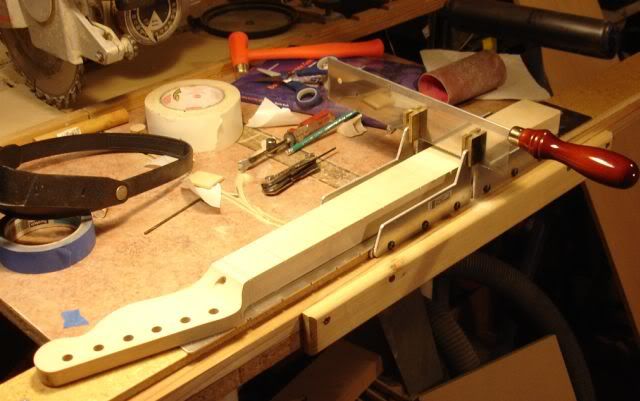
This picture shows the fret slot sawing set-up I used on neck #2. It should be understood that the StewMac fret slot miter box is intended for sawing fret slots in separate fret boards ....... not one piece necks. In normal use the fret board being sawed has parallel sides. This setup consists of a long board with the miter box attached in the center and MDF strips attached at either end level with the base of the miter box.
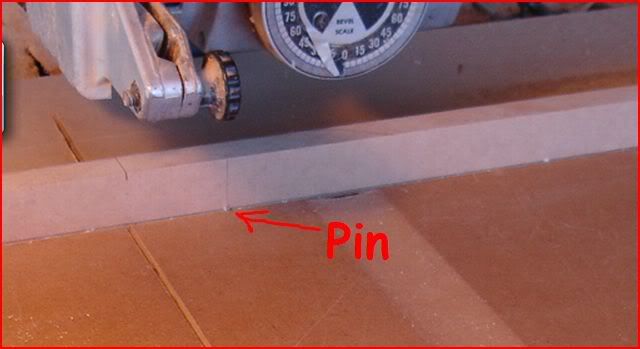
Here I'm sawing the slots. The neck is taped to the StewMac fret scale template. The template has notches which engage a pin in the miter box thereby making measuring unnecessary.
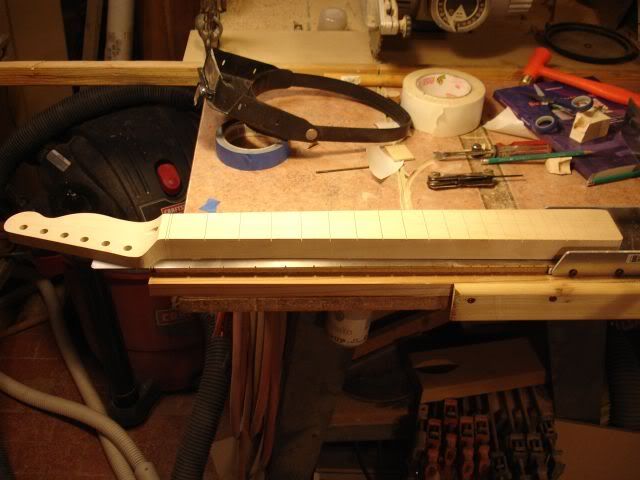
Slot sawing completed.
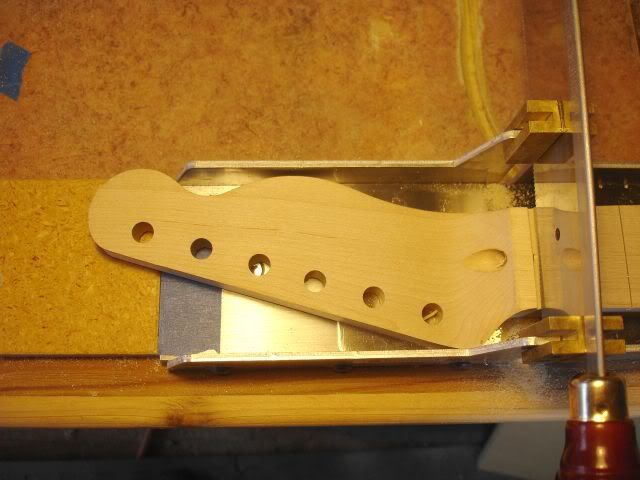
Here I'm cleaning out the nut slot with additional cuts. As you can see, if you were making a one piece Strat neck, you'd have to do some of the slots without the miter box.
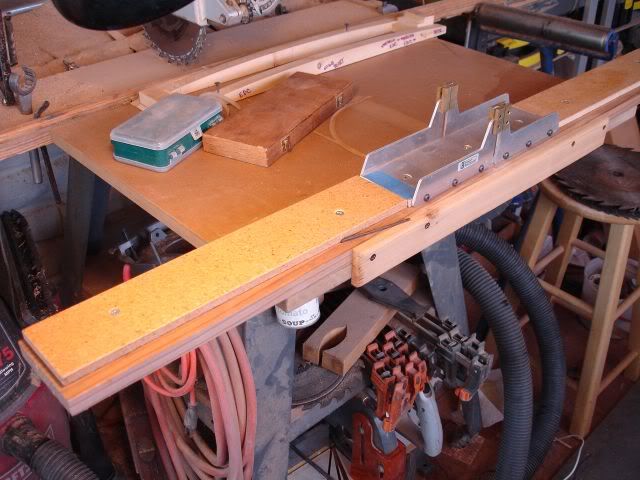
Although the fret slot cutting above worked out OK, it was a bit tedious setting up the miter box for the correct depth of cut and the sawing took some time. I chose another method for neck #3. I purchased the StewMac thin kerf fret slot cutting circular saw blade for use in my radial arm saw. I cut a special fence and installed a pin to engage the template notches.
Sidebar: I'm a big fan of the radial arm saw having used mine extensively over the last 30 years. I've recently discovered that DeWalt no longer makes them and they were not shown in a recent copy of the Sears tool catalog. Probably less call for them with the advent of the sliding compound miter saw. I think they are still being made by a company in Canada but they may only be large industrial models.
Here's neck #3 after cutting the slots. This probably took only about four minutes. The template has been taped to a piece of 1/4 in. MDF with a centerline drawn on it. The neck is taped to the MDF with the neck centerline aligned to the line on the MDF.
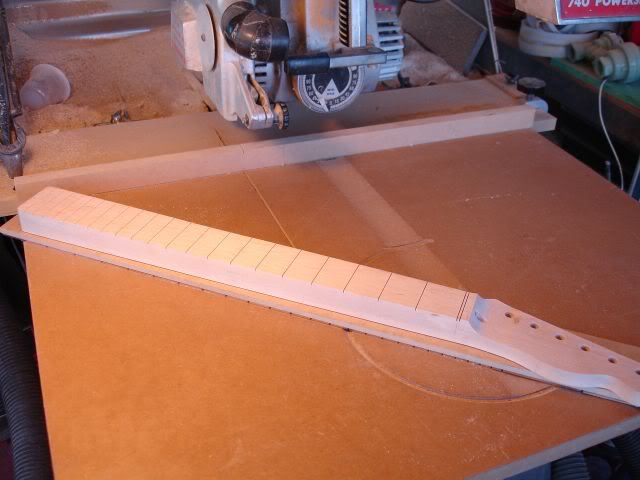
With the fret slots cut we're ready to radius the fingerboard. I used the StewMac 9.5 in. radius sanding block with 100 grit self stick paper and some elbow grease followed by 320 paper.
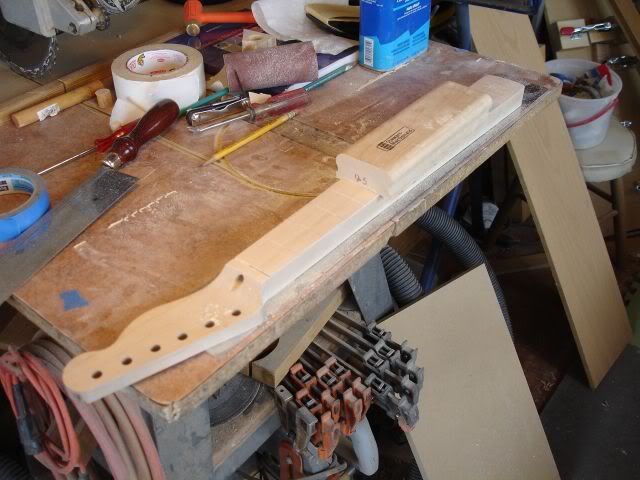
Next step ...... drilling for the fret board markers.
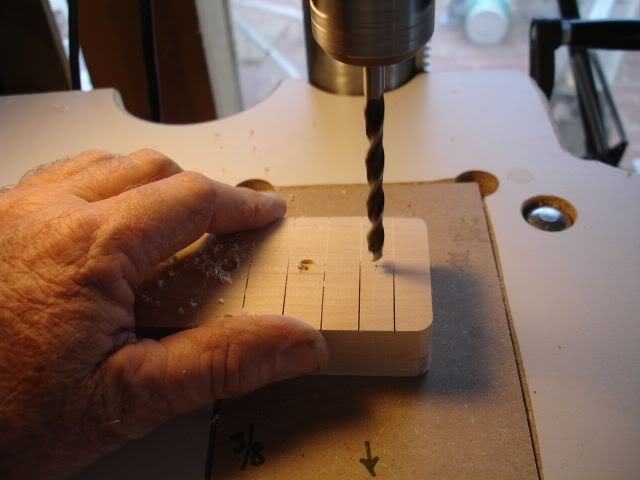
Glueing in the fretboard markers. These markers were purchased from StewMac. I think they're 15/64 in. I used a super glue gel. After the glue set, I sanded them flush with the radius block and 320 paper.
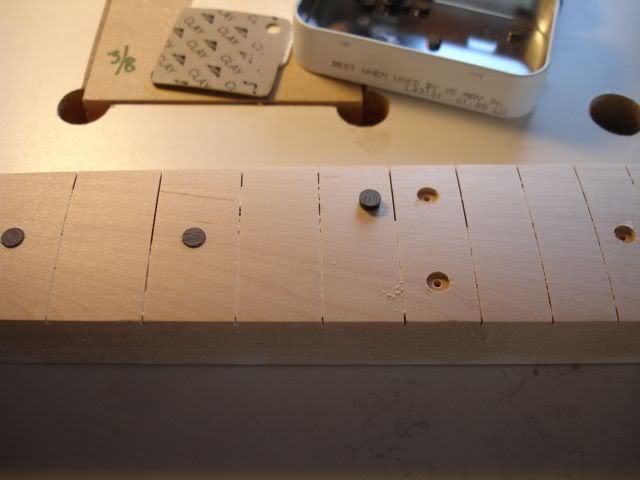
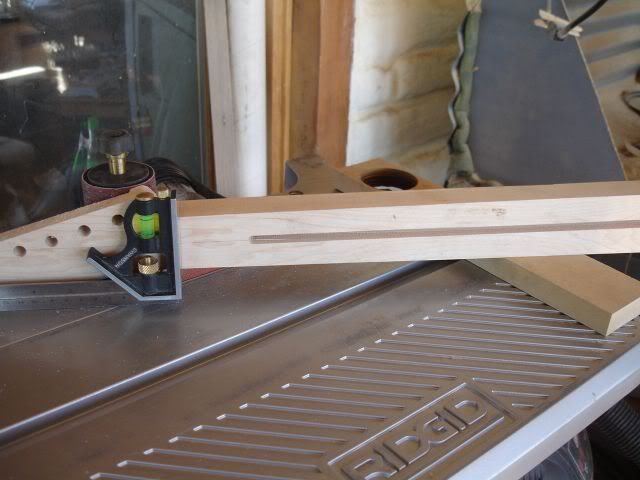
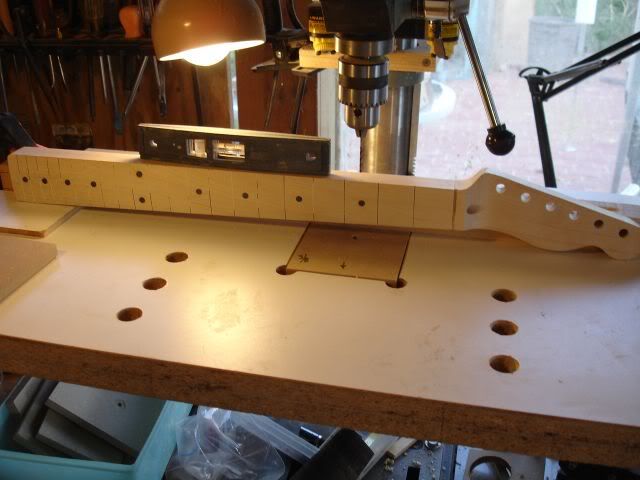
Here I'm preparing to drill for the side dot markers. I'm using the level to choose a riser block for the heel to make the bass side of the neck parallel to the drill press table. I'm using 2mm plastic rod I purchased some time ago from Warmoth.
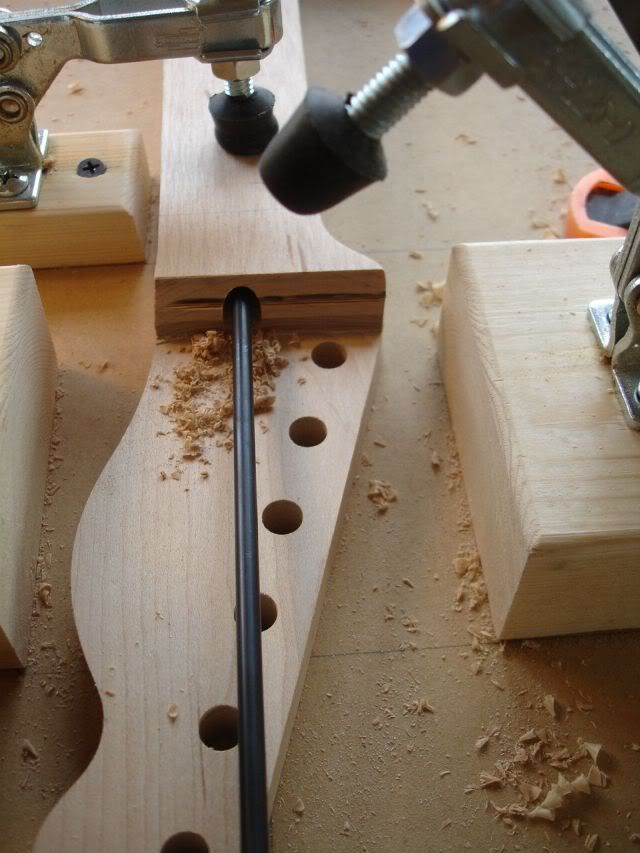
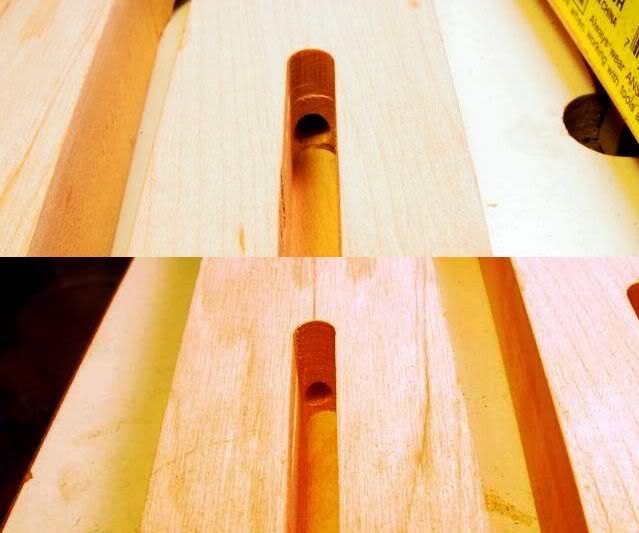
Here a picture showing the holes I drilled from the headstock into the truss rod channel. The top one is a 1/4 in hole drilled using a guide block in the jig. The second one was done more or less free hand. Both are a little off to the treble side. Looks fixable to me.
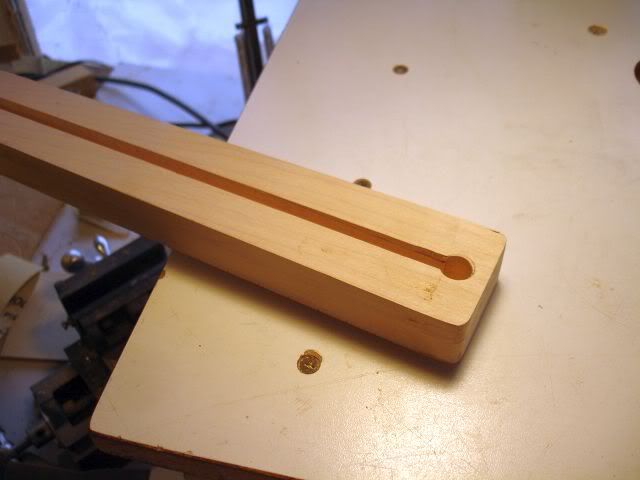
Since I have room for one more picture in this post here's a picture of neck #2 which will have the truss rod adjustment at the headstock. The channel is was routed to within about 3/4 in. of the end. A 1/2 in hole was drilled with its center about 1/2 in. from the end with the depth the same as the channel at that point.
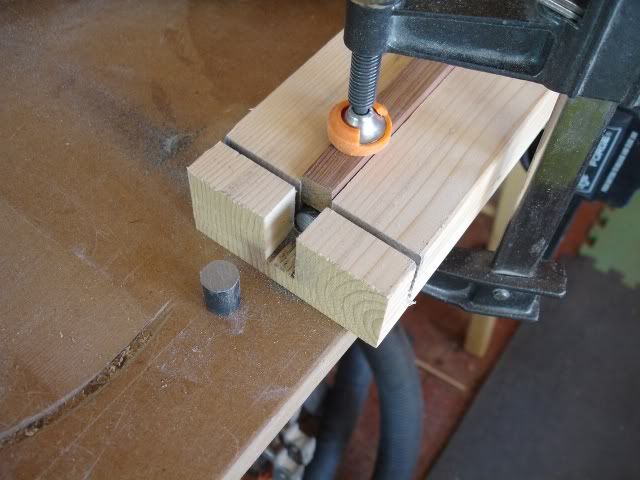
Haven't done any work on the necks recently so I thought I should get back to it. In this installment I'll be making the truss rod. This first picture shows a little jig I made for cutting the anchor slugs from 1/2 in. steel rod.
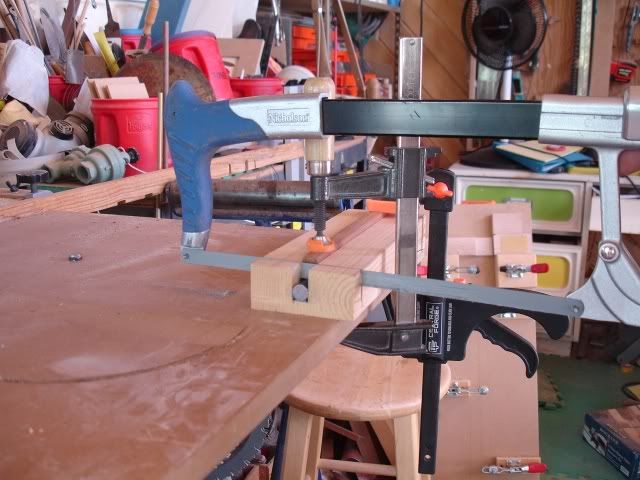
Here's the cut slug
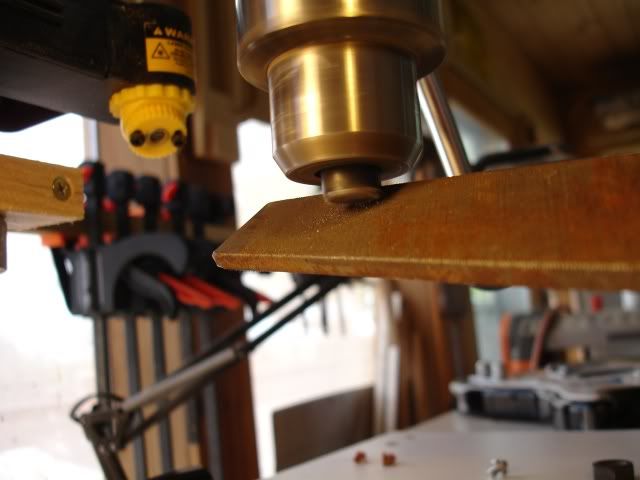
I've chucked the slug into the drill press and am using a file to clean up the cut ends.
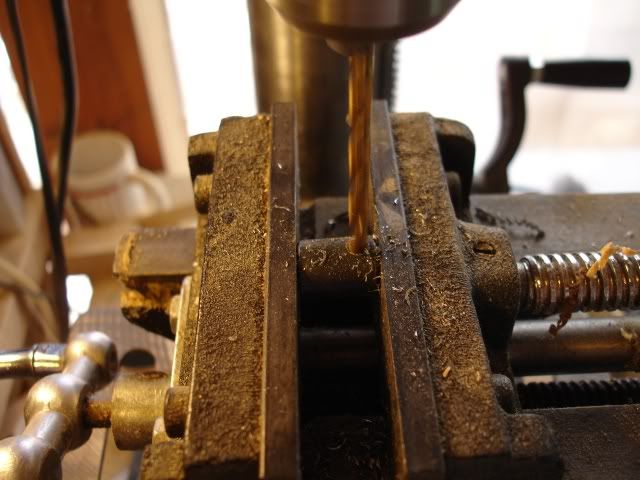
Drilling the anchor.
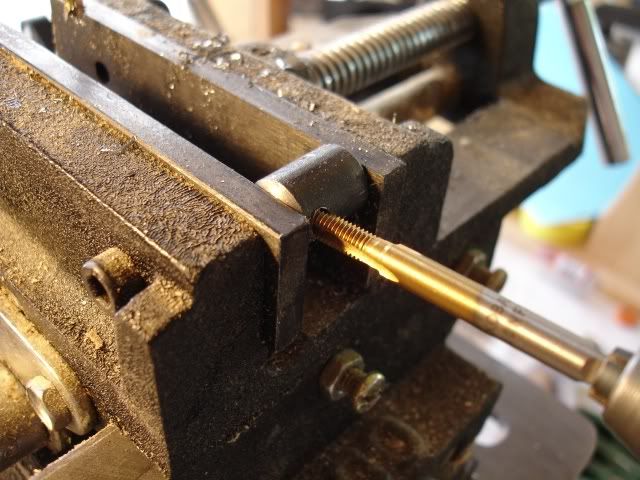
Tapping the anchor.
Threading the rod.
file:///C:/DOCUME%7E1/Jackass/LOCALS%7E1/Temp/moz-screenshot.png

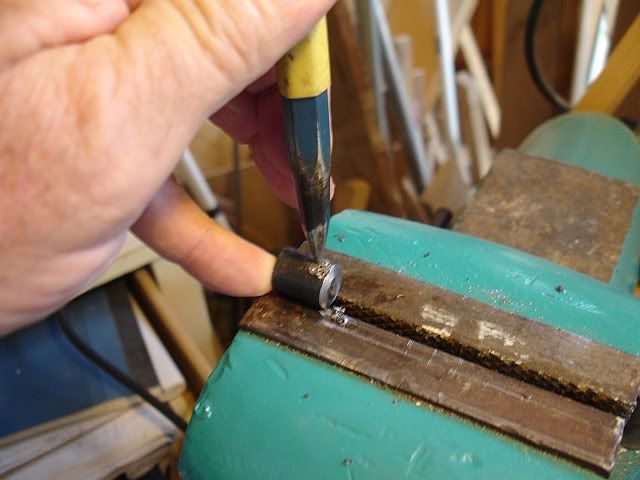
The anchor is screwed on to the end of the rod and secured by center-punching the rod several times
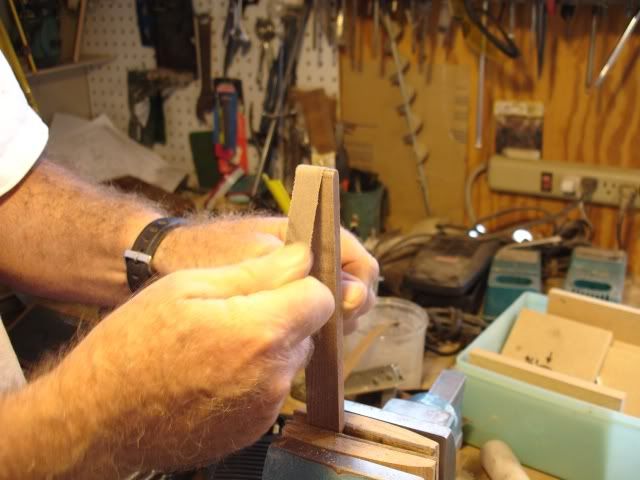
A filler strip was cut from 3/4 in walnut. After running the strip through the thickness planer to get thickness right, I hit the corners of one end with a sanding block then rounded the end by dragging sandpaper over the end.
I used the channel routing jig to draw the channel curve on the filler strip. I then bandsawed it and sanded to the line with the oscillating drum sander.

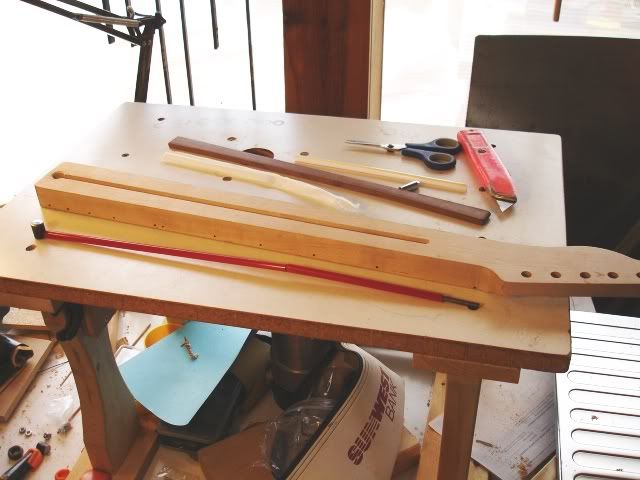
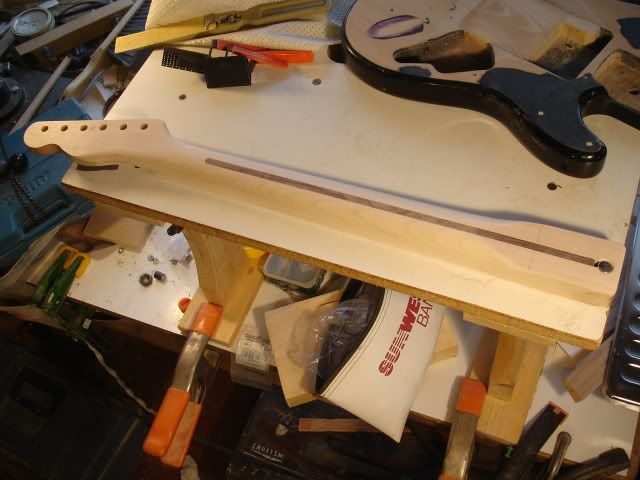
Here's the neck, truss rod and filler strip ready for installation.

Here's the truss rod installation. In his book Melvyn Hiscock suggests putting the rod into plastic tubing if the proper sized tubing can be found. I couldn't find it. As an alternative he suggests soda straws. The purpose is to prevent the rod from sticking. The straws I had were a little larger in diameter than the rod so I split them lengthwise so they could wrap around the rod.
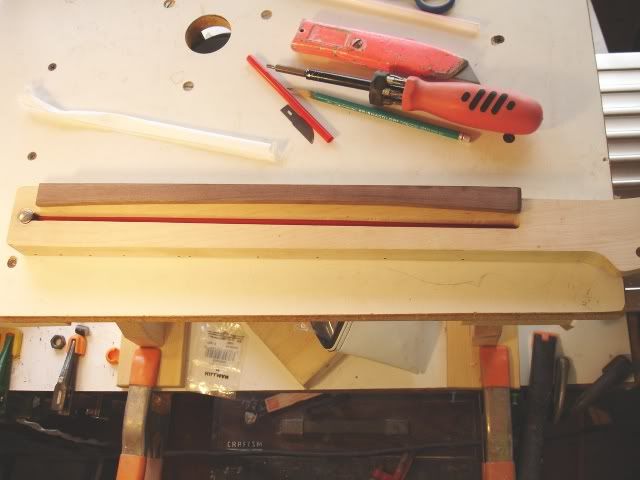
Here's the truss rod installed and ready to be hidden.
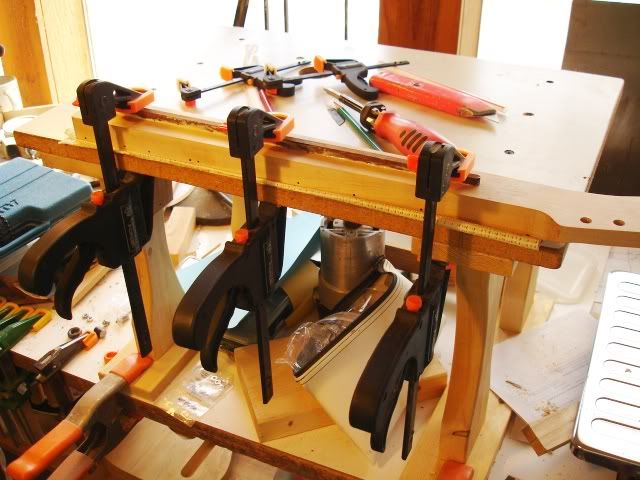
After glue is applied to the sides of the filler strip it is inserted and clamped.
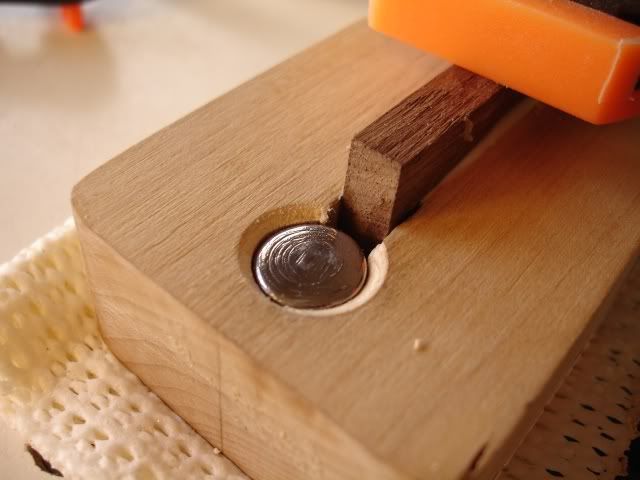
With the anchor recessed slightly there's no chance of nicking the plane blade during the next step.
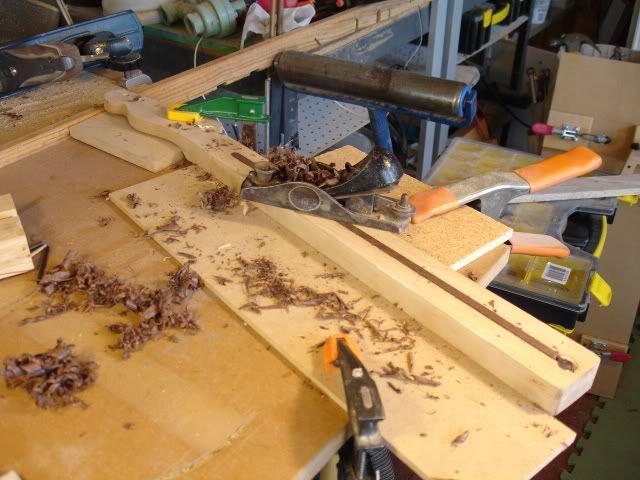
Planing to remove most of the exposed wood.
Sanding the back of the neck to check the fit of the filler strip.
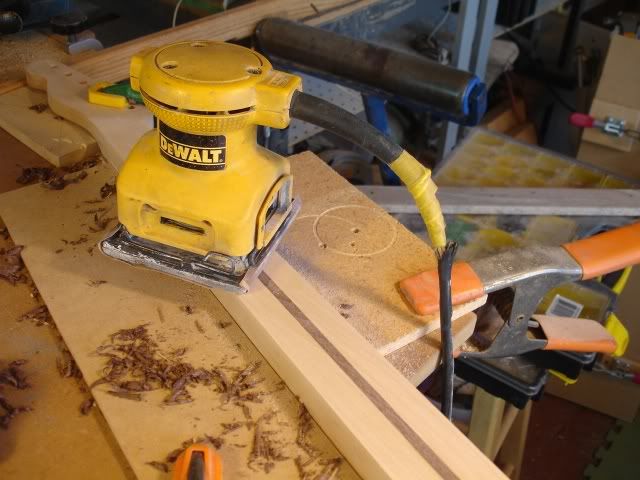
Here's how it fits.
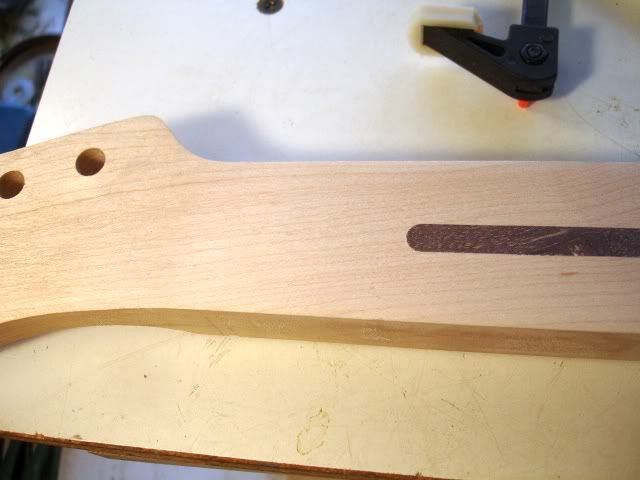
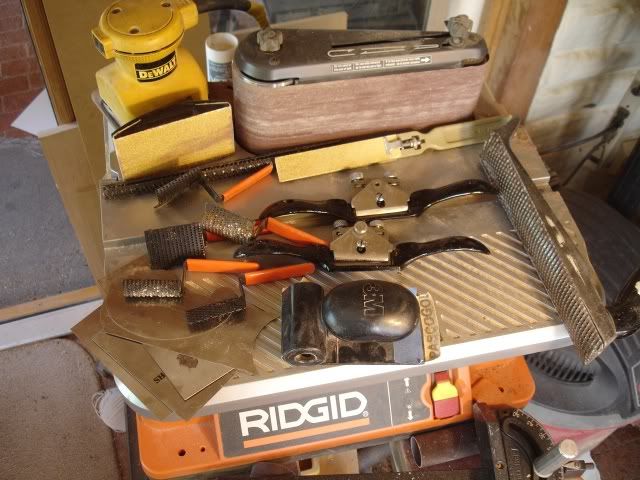
more to come. Next up......... shaping the back contour. Here are the tools I've gathered for the neck shaping.........
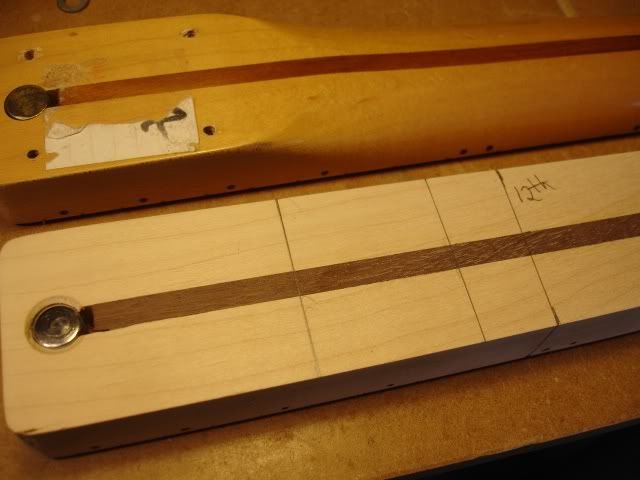
Started the neck shaping yesterday afternoon. I started by taking some heel measurements on a Fender neck and marking them on my neck along with the 12th fret.
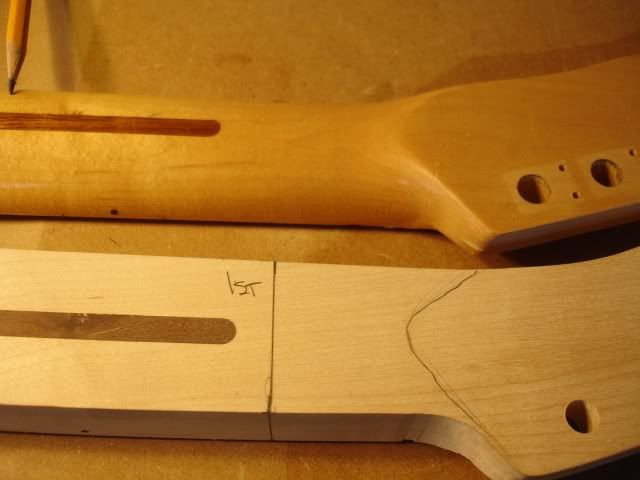
I marked the first fret location and the headstock flat line.
I started roughing out the heel transition area with this Sureform round rasp.
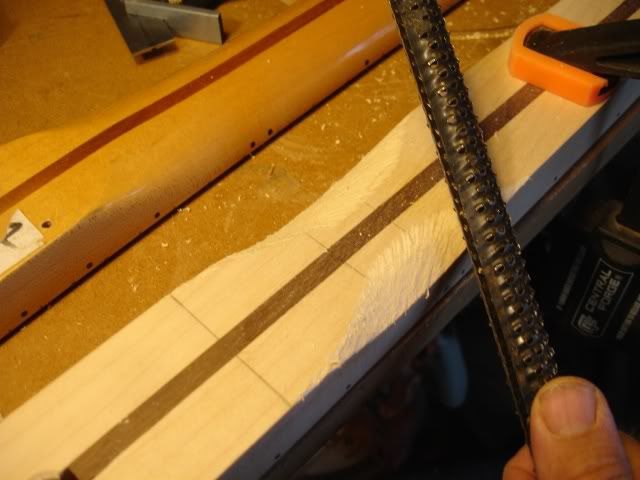
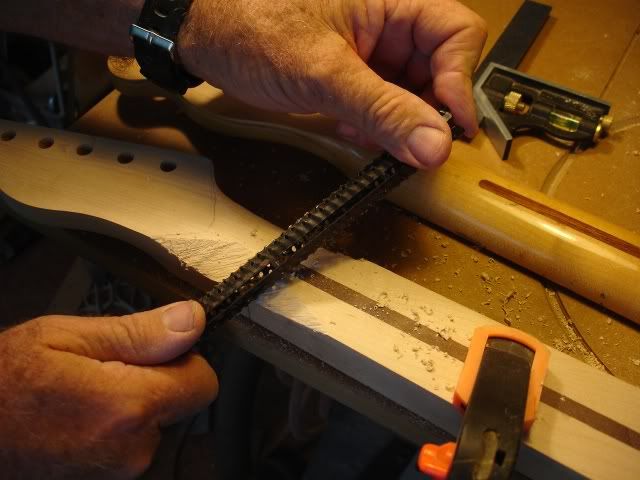
I then used the rasp at the headstock end. It seems to work best holding it so it cuts on the pull stroke.
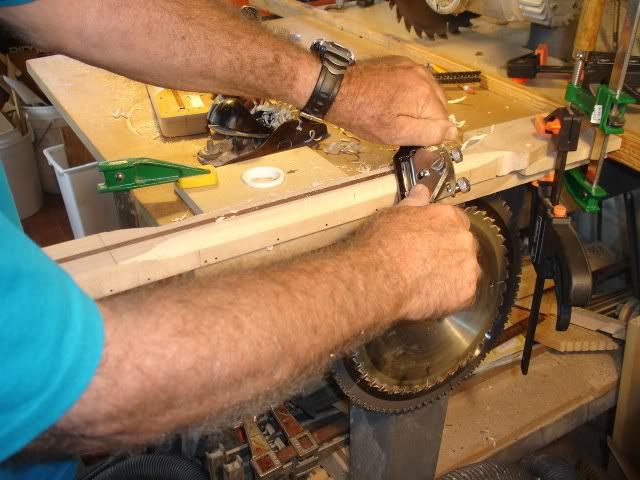
Here I'm using a spokeshave to remove wood between the two roughed out areas. I don't have much experience using a spokeshave and this wasn't going well. I seem to get a lot of chatter as I pull.
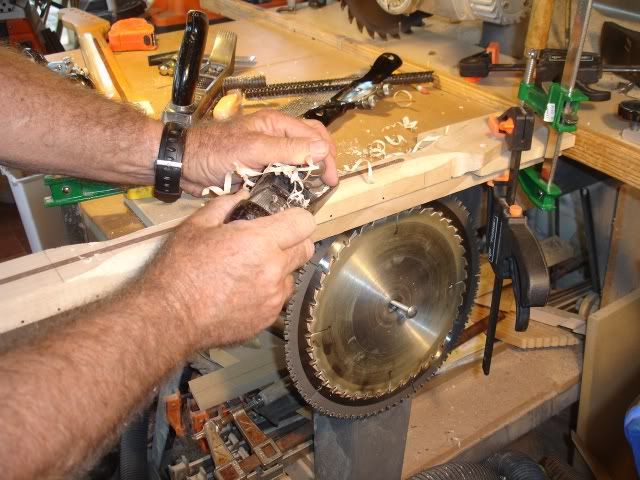
I seem to have better luck using the ole Stanley hand plane.
After roughing out the shape, I think I've found my shaping tool of choice........... the Ridgid belt sander. The sander is short enough to work between the first and 12th frets. Here I'm just rocking the neck back and forth letting the sander do the work. This works great because you don't have the neck clamped to a table. You can instantly check the feel of it.
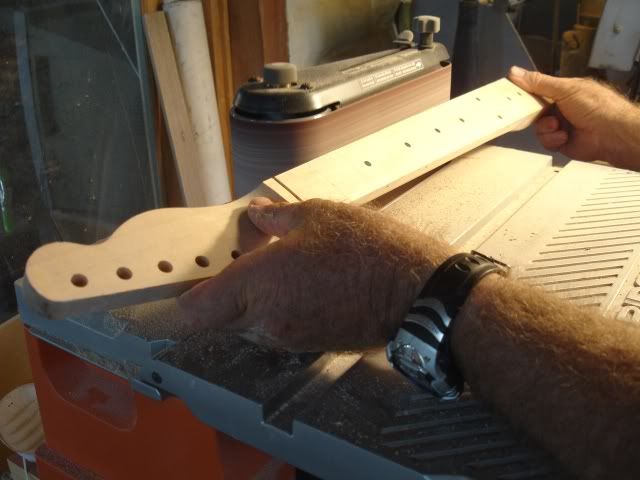
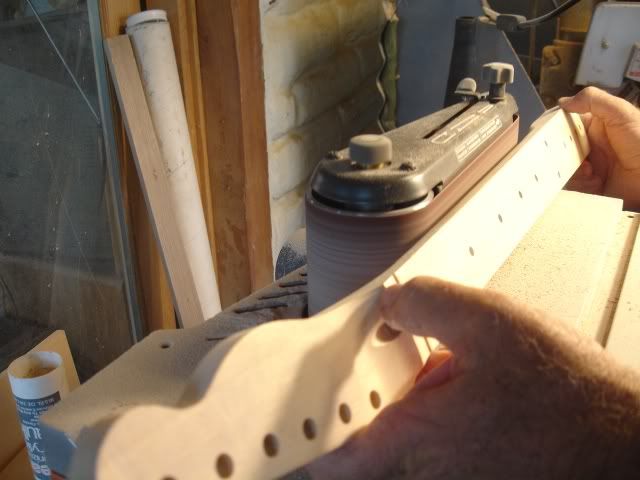
Here's another great tool for neck shaping....... the orbital sander. This is great for working on the transition areas at the heel and headstock.
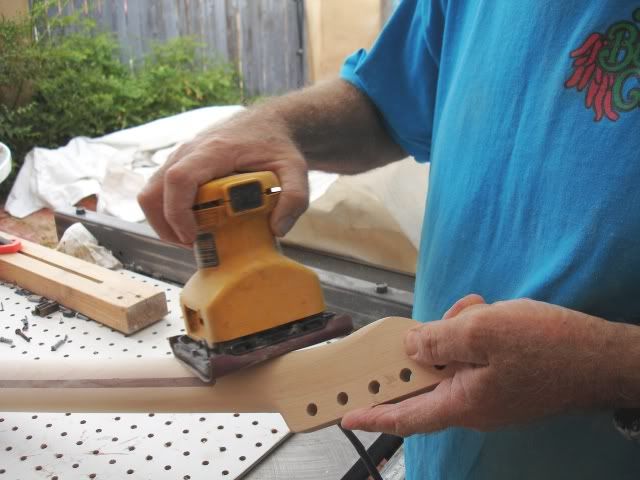
If you don't have the Ridgid belt sander you could probably use an orbital sander with coarse paper and rock the neck back and forth like I'm doing here.
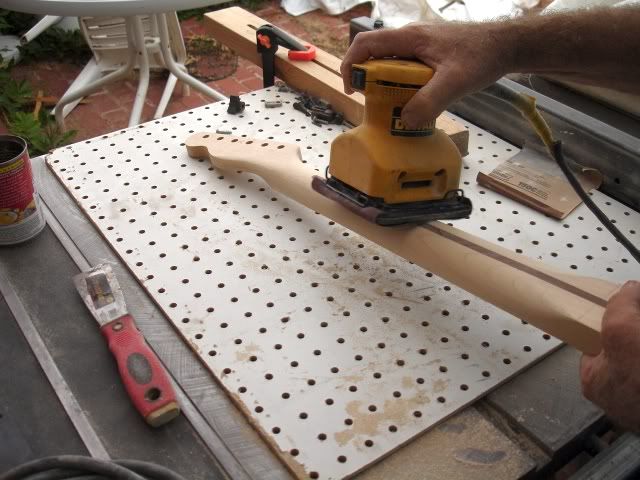
Well ............ it's starting to look like a neck. Still a little too chunky for me but I've purposely gone slow because you can always remove more wood but can't put it back.
后接第二种。
[ 本帖最后由 坏头脑 于 2009-7-27 16:10 编辑 ] |
|
